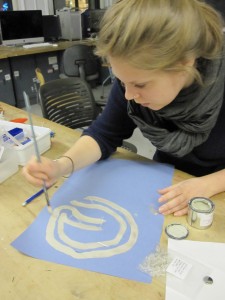
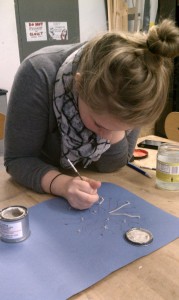
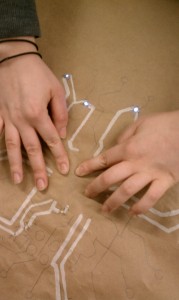
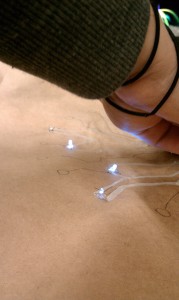
Liz and I have been working very hard on our Physical Computing final project, an interactive wall hanging that serves as an ambient night light. We began by simply experimenting with the conductive paint to build a simple circuit with an LED. We tested many circuits by painting, blow drying (to dry the paint faster), attaching an LED in different ways, and then testing with a small 3V watch battery. After many disappointing attempts, we learned that the paint coat needs to be very smooth and consistent in order to conduct the electricity correctly.
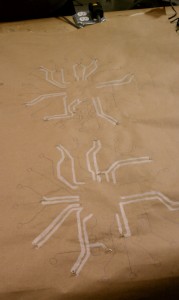
Our next step was deciding on a pattern to paint onto our wall hanging. We imaging these paintings hanging in the homes of tech nerds who wake up in the middle of the night to stumble to the bathroom or to their computer to type up the code they were dreaming about. Thus, what better pattern than the lovely circuits of an Arduino board? Check out our traces in this post. The first iteration was to paint these circuits onto a large piece of brown recycled paper, as the low-tech feel of the paper would contrast nicely with the high-tech aspects of the art piece.
In order to transfer our traces onto the paper, we taped the paper to the wall and projected the traces onto it. We then sketched the circuits onto the paper.
Before painting the circuits onto the final piece, we tested how the circuit would work on a smaller piece of paper. We started by poking the legs of each LED through the paper and painting a “power” line and “ground” line over the legs on the back of the paper. While this technique worked to light all the LEDs, we decided it was important that the painted circuits be seen and we looked for a different strategy.
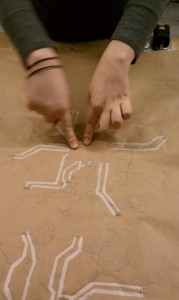
The next strategy was to paint a power and ground line from each LED using the lines in the circuit trace as guides. We would then connect all of the power/ground circuits together in the back, but at least the main parts of the circuits would be visible.
We finally got to painting our “final” wall hanging. For each board trace we are using 10 LEDs, and 3 traces will be connected to the same Arduino or LilyPad board (still undecided which we will use). We trimmed the LED legs down and hot-glued the LED body to the paper, and then painted the “power” side of each circuit. Once the paint was dry, we tested each strip of paint with a multi-meter to make sure current was flowing through the circuit. We then poked a hole through each strip and connected them on the back of the paper to create our power circuit. This process was repeated to ground the circuit.
By connected a battery (we tried both 9V and 3V), we tested the circuit. Only some of the LEDs are lighting, so we will have to figure out if the LEDs or the circuitry is dysfunctional.
After presenting our work to Joel in class today, we decided to change a few details of our project. First, we want to make a group of smaller paintings to be installed near each other. This will allow us to use different patterns and be more flexible with our design. We also would like to make the circuitry more apparent, so we will mount the Arduino/LilyPad board and leave wires exposed as an important aesthetic component of the piece.


